
Metal Roofing
Metal Roof Installation Guide for Austin Homes
Learn how metal roofs are installed in Austin, TX. From tear-off to final inspection, see what proper installation should look like.
Talk about your roof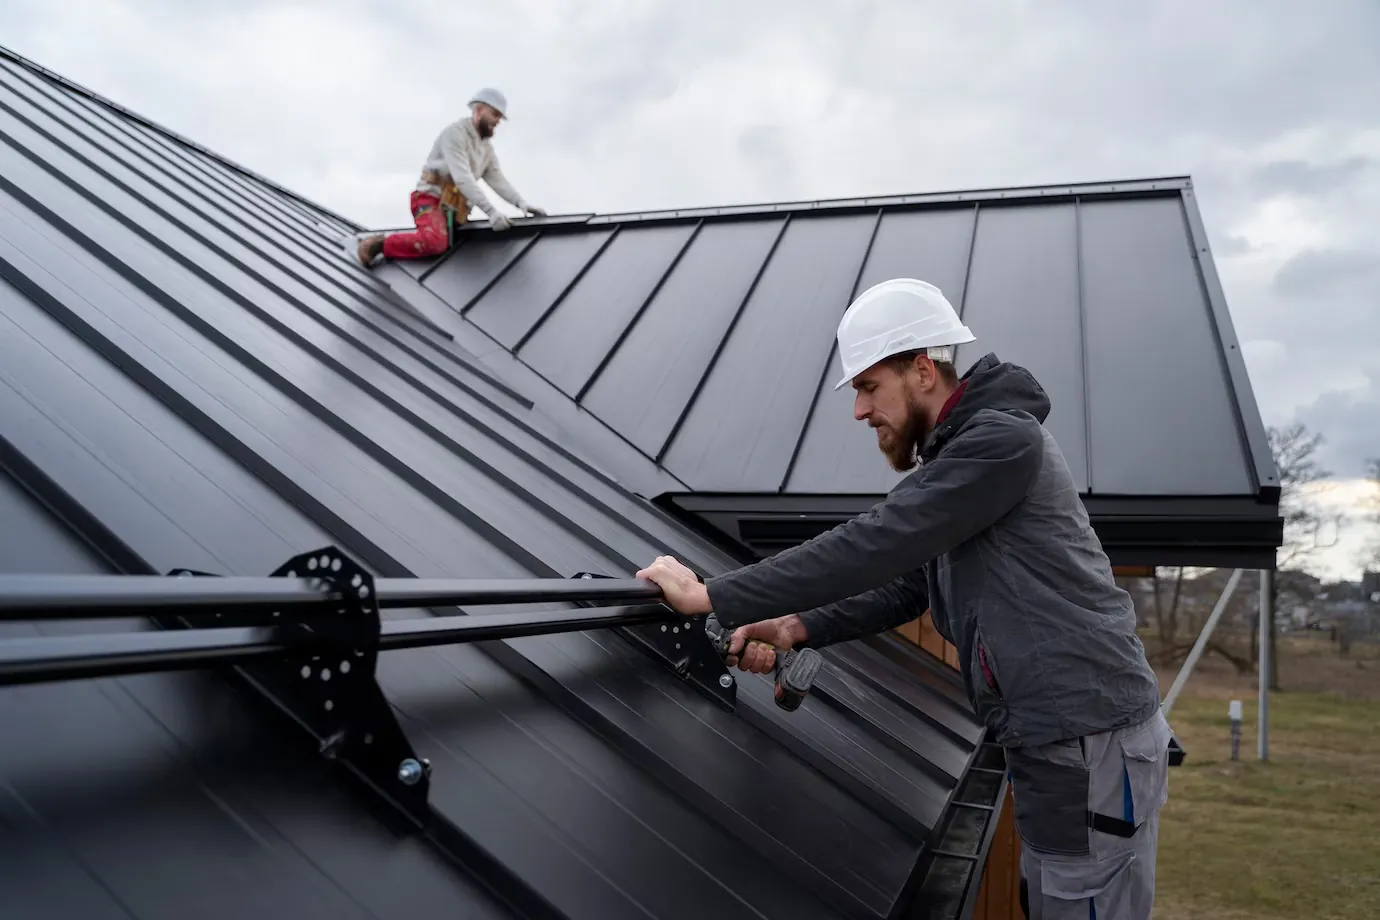
Metal roofing is one of the best options for Texas homes—but only if it’s installed correctly.
Use the following overview to discuss a professional installation, not as a DIY procedure. Roof access and installation details require trained personnel and the selected manufacturer’s instructions.
Here’s what a proper metal roof installation should look like.
Inspection & Planning
Before anything starts, the roof needs to be evaluated.
This includes:
- Measuring the roof accurately
- Checking slope and layout
- Identifying any problem areas
- Making sure the right system is selected
Not every metal roof is the same—standing seam, R-panel, and other systems all install differently.
Tear-Off & Deck Inspection
If there’s an existing roof, it’s typically removed down to the decking.
From there:
- The deck is inspected for damage
- Any rotten or soft decking is replaced
- The surface is prepped for a clean install
This step is critical. Everything sits on the decking—if it’s not right, nothing else will be.
Underlayment Installation
Underlayment acts as a secondary water barrier.
In Texas, this is especially important with:
- Heavy rain
- Wind-driven storms
The underlayment must be approved for the selected panel, substrate and temperature exposure, with product-specific laps and fasteners. Verify those instructions before installation.
Metal Panel Installation
This is where precision matters most.
- Panels are aligned and installed in sequence
- Fasteners are placed correctly to prevent leaks
- Overlaps are done to create a watertight system
- Space is allowed for expansion and contraction
Request product-specific checks for fastening, seams and penetrations rather than judging quality by panel alignment alone.
Flashing, Trim & Details
Inspect the panel field and all transitions, including:
- Vents
- Chimneys
- Valleys
- Edges
Proper flashing and trim installation ensures these areas are sealed and protected.
Sealing & Final Details
All seams, fasteners, and penetrations are sealed where needed.
This step helps:
- Prevent water intrusion
- Improve long-term performance
- Protect against Texas storms
Final Inspection
Before the job is complete, everything is checked:
- Fasteners
- Seams
- Flashing
- Overall installation quality
The goal is simple—a roof that’s tight, secure, and built to last.
Final Thoughts
Before final acceptance, retain the product information, inspection photos and warranty documents. For general material-selection context, DOE cool-roof guidance explains finish-dependent thermal performance; it does not replace the metal manufacturer’s installation instructions.
But the key is doing it right from the start.
At Texas Professional Roofing, we focus on proper installation, quality materials, and clear communication—so you know exactly what you’re getting.
What would you like to do next?
Start with a number, book a look at the roof, or just ask.